Yet another Tricopter!? Yes! I needed a backup tricopter for a video shoot, so I decided to build one with high quality components, too see if there is any difference in performance.
I choose to use the T-Motor 2216-12 800kV motors. I’ve used them before and I liked them, plus they were available at my local hobby shop. The ESC’s are the same Hobbyking F-20A ESC’s I’ve used many times before. Once again I’m going to re-flash with Simon K’s awesome firmware. The modified firmware has little to none filtering of the PPM signal which means that the throttle response is much quicker.
The yaw mechanism on the Tricopter V2.5 and 2.6HV works so well and is so simple to build, I decided to use it on this build as well.
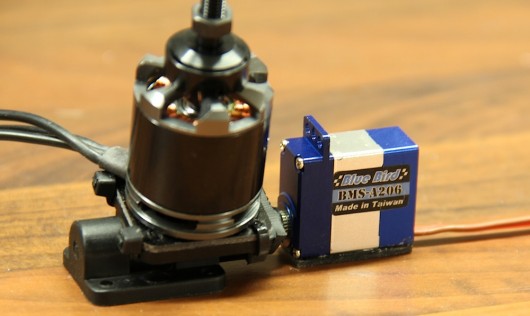
To mount the motor as simple and clean as possible I made a little adaptor plate.
The motor is bolted to the plate and the plate is then mounted on the yaw mechanism.
The plate is fastened with Zip-ties. This will absorb energy and save parts in case of a crash.
The servo I decided to use is a 12-Bit high resolution digital coreless Blue Bird BMS-A206. It’s a quite expensive servo I had left over from building a camera gimbal. It’s very smooth, quick and powerful. Unfortunately I had to cut the case on it to get the cable out of the way.
To get the proper distance between the boom and the servo output shaft I had to use a 1.5mm thick piece of G10
I simply glued to the bottom of the servo using CA.
Ready to be installed on the boom.
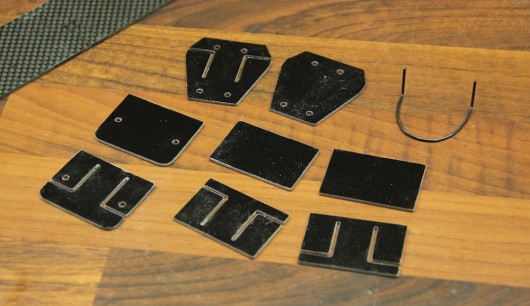
This is how I ended up mounting the front motors. The hole spacing on the motors almost fit perfectly over a 10mm boom. Only a little material needs to be removed and then you can just bolt it straight to the boom. I made a couple of “spacers” out of 1.5mm G10 in order to not have the motor shaft rub against the boom and also have something on the bottom to hold the screws in place.
Looks pretty clean.
All the motors ready to go.
The tail servo and yaw mechanism strapped to the boom using zip-ties
The tail ESC. I modified it by adding a pin header which is directly soldered to 5V BEC output of the ESC and a separate signal wire. This is so I can plug in the servo straight into the ESC instead of having a servo lead going from the ESC to the control board and then back again to the servo. This saves 4 wires and is more efficient.
All the wires are fed through the inside of the square carbon fiber tube to make it look nice and clean.
Two front ESC with longer power and servo leads.
Still use the same old frame. (Which I now sell if you don’t want to cut it your self)
Looking good so far.
The power wires soldered to the XT60 connector.
The signal wires installed into plugs and the KK2 board in place.
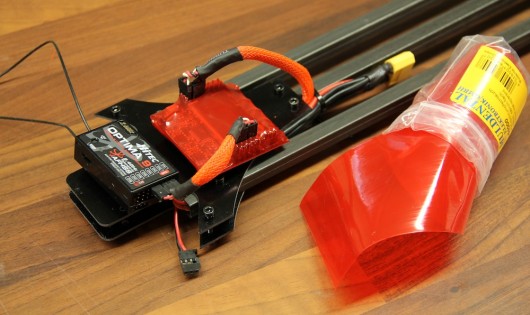
Added some orange wire mesh to the signal wires to tidy it up a bit.
The KK2 board isn’t the prettiest thing in the world, so I covered it in some transparent red heat shrink.
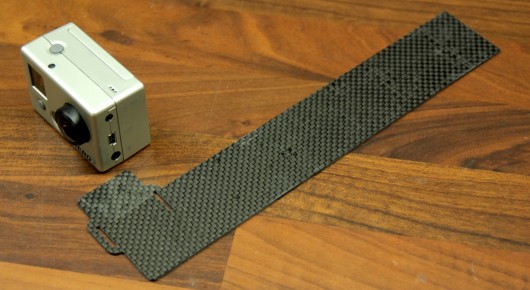
Cut a simple GoPro camera tray out of some 1.5mm carbon fiber.
I’m using the same vibration dampening system as the V2.6HV, but with 1.5mm thick wire instead of 1.2mm.
Front wire.
The wires installed on the frame.
Glued to the bottom of the camera tray. I used some extreme packing tape just to make sure.
GoPro mounted on the solid wire dampened camera tray.
Simple landing gear.
Installed on the tricopter using two zip-ties.
Graupner 9×5 E-props.
More to come!


